This article is part three of a five-part series designed to demonstrate to Bitcoin beginners how to install, secure and use a Bitcoin wallet. This part of the series covers installing Blue Wallet on iPhone.
Find part one of the series here, part two of the series here, part four of the series here and part five of the series here
If you have an iPhone and have bitcoin, then I highly recommend using Blue Wallet to secure your BTC. This article will walk you through the basic steps for installing, securing and using Blue Wallet on iPhone. But, before getting started, it is a good idea to have a pen and paper ready. Remember to start with small amounts of bitcoin until these concepts make more sense and you are comfortable putting your funds in a mobile wallet. And always backup your seed phrase!
Step One: Install Blue Wallet
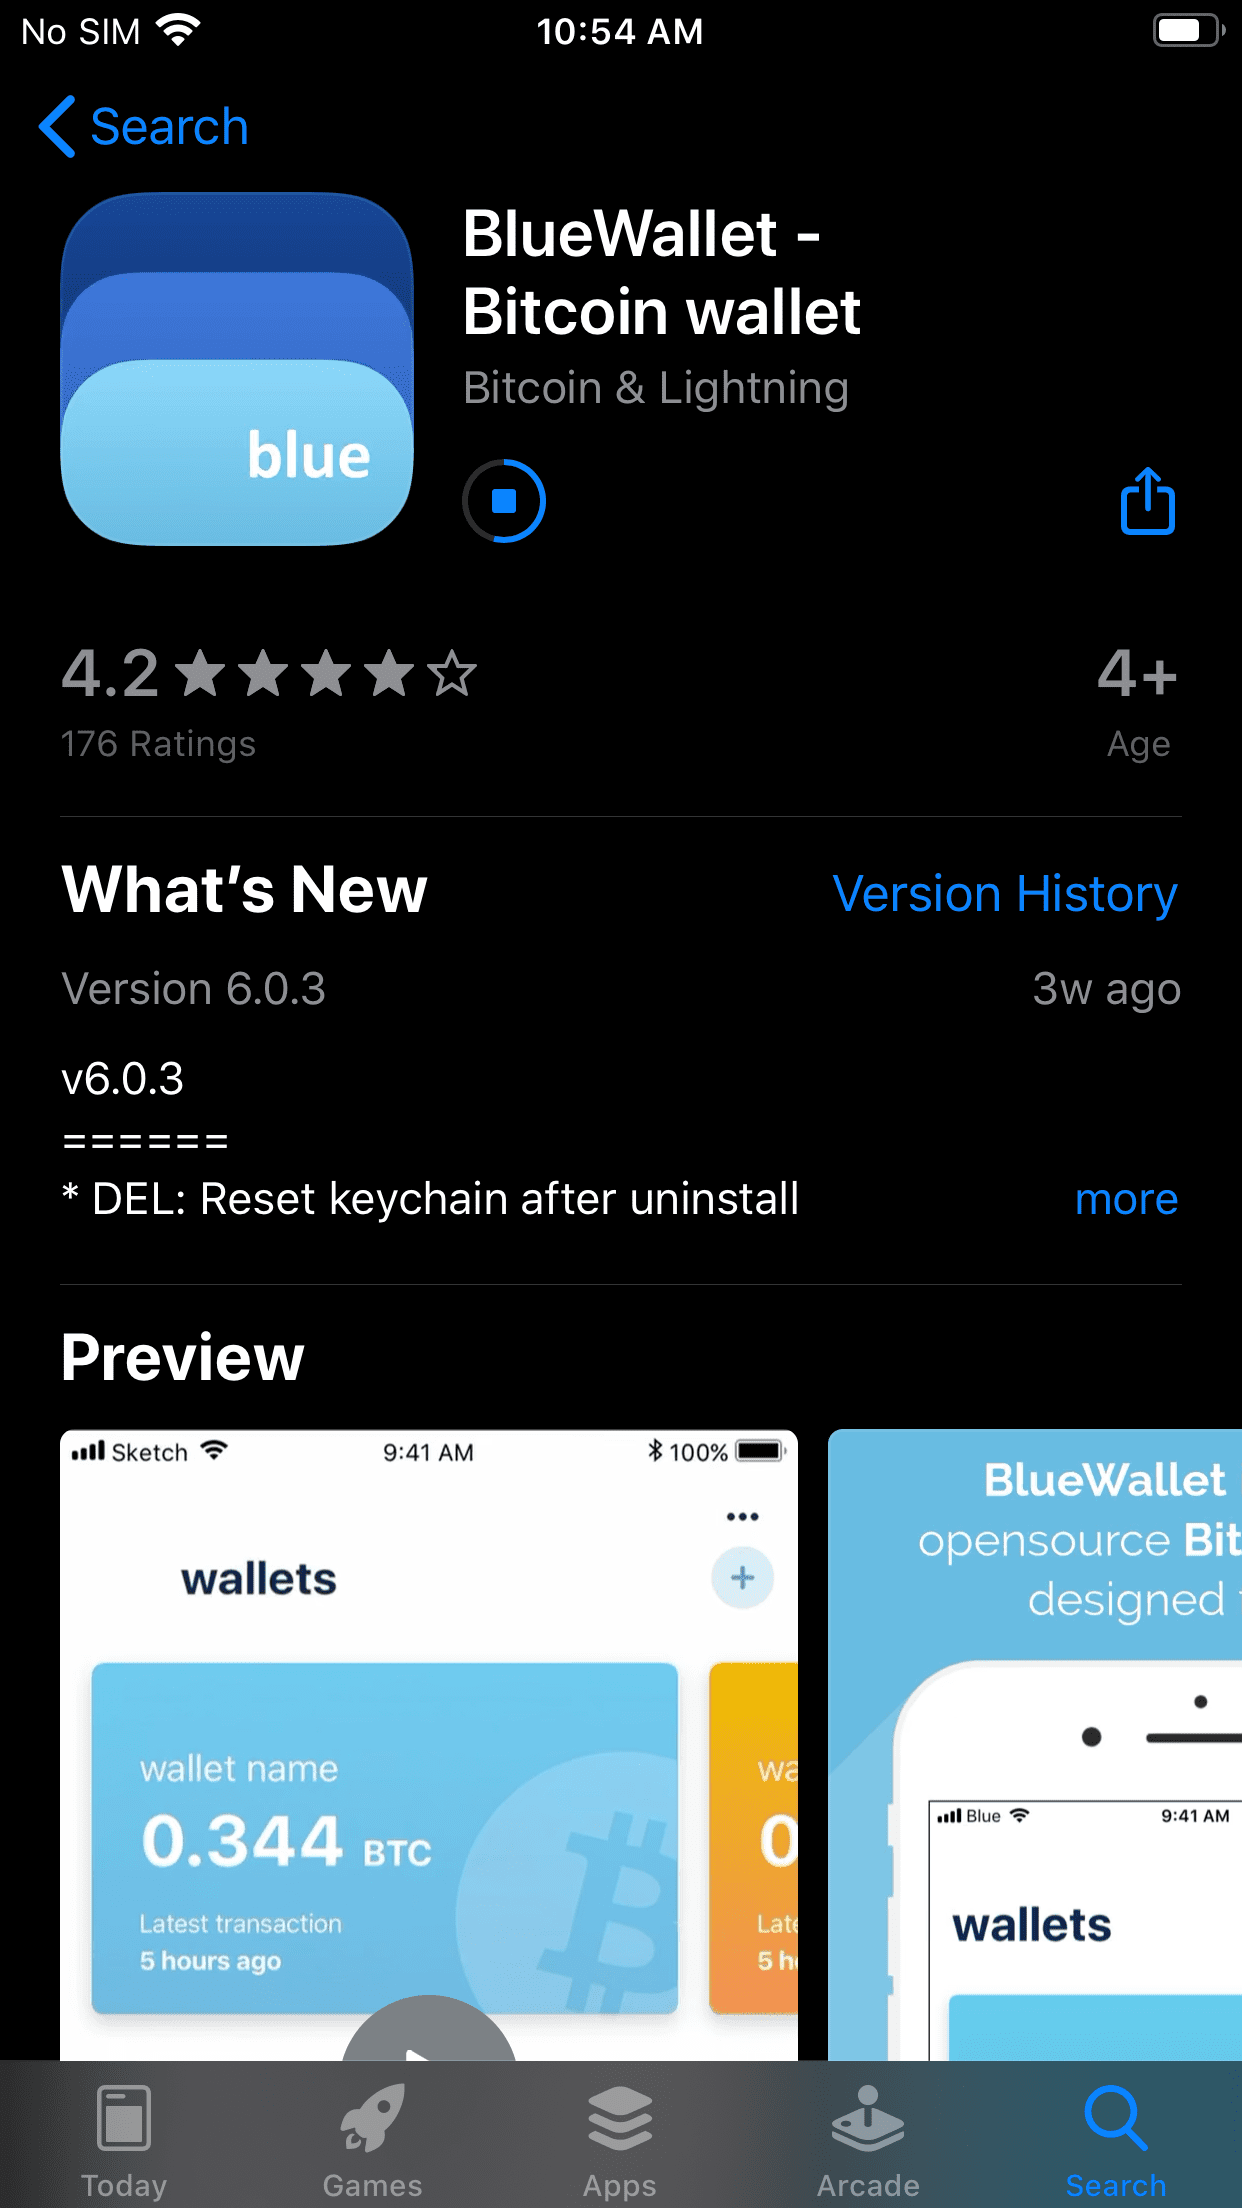
Blue Wallet installs just like any other app on your iPhone. Navigate to your Apple App store app and select download. Check Blue Wallet’s website for more details.
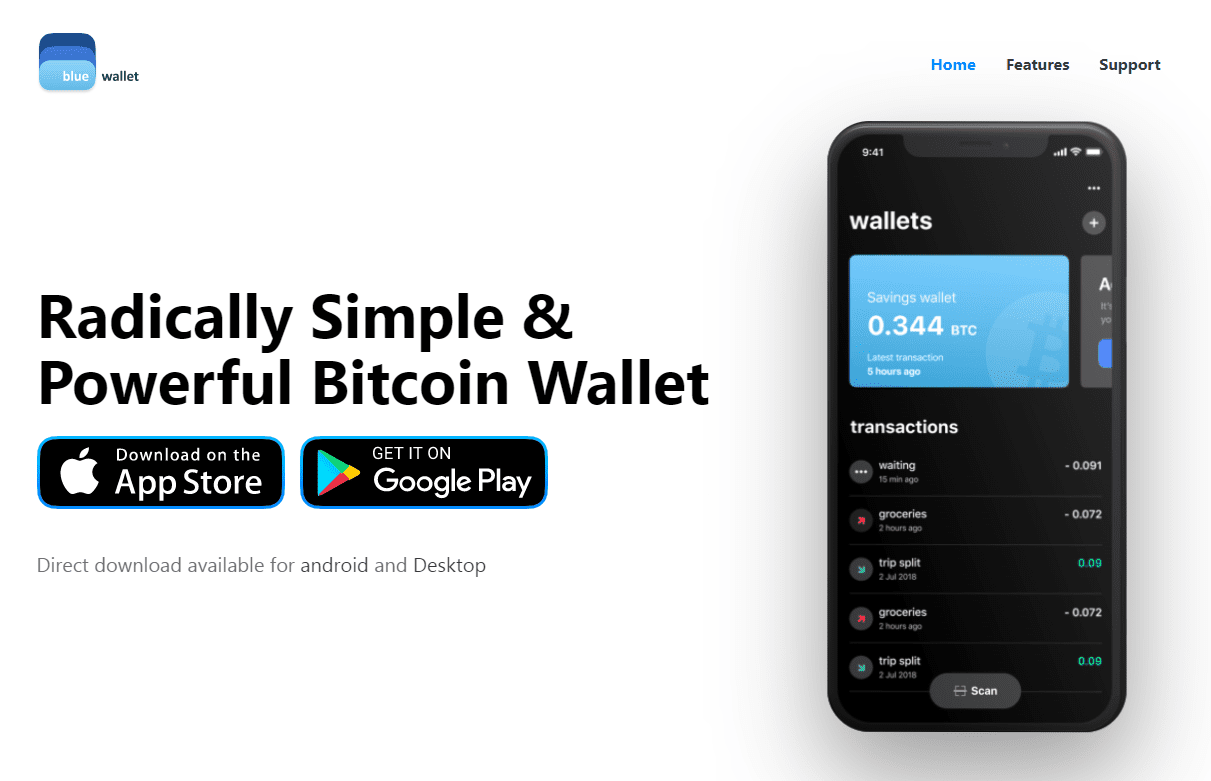
If prompted, enter your Apple ID password. Once installed, launch the Blue Wallet application.
Step Two: Wallet Setup
Users can decide to use Blue Wallet with the standard settings or with advanced settings enabled. Advanced settings allow users to utilize more features, like adding entropy (randomness) to their seeds with dice rolls or coin flips, to set up wallets for different Bitcoin address types and more.
To enable advanced options, select the three-dot menu in the upper-righthand corner of the homescreen, then select “General.”
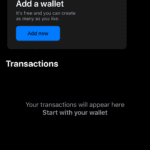
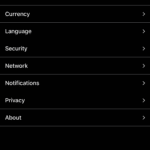
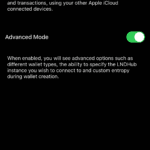
Then toggle the “Advanced Mode” slider and select the back arrow to return to the wallet homescreen.
From there, select “Add a wallet.”
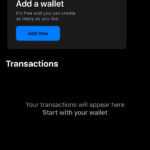
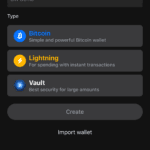
You can name your wallet anything that is convenient for you, I chose “BW Demo” for this example.
Then you can choose the kind of wallet that you would like to create. I chose a Bitcoin wallet for this example.
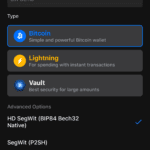
If you decided to enable the advanced options, you will notice that you can choose the address type for your new Bitcoin wallet. I recommend sticking with the BIP84 Bech32 native SegWit address type. These are the addresses that start with “bc1” and typically, they can save you on data space in your transactions which translate to less expensive miner fees.
Then, if you would like to provide your own entropy in your wallet seed, you can select “Provide entropy via dice rolls” and then you will be able to select various sided dice or you can flip coins to generate random numbers to include in the generation of your seed. This is not required, but it is a nice option to have.
Alternatively, select the blue “Create” button when you are ready to move on.
Step Thee: Secure The Seed Phrase
Note: This is the most important step.
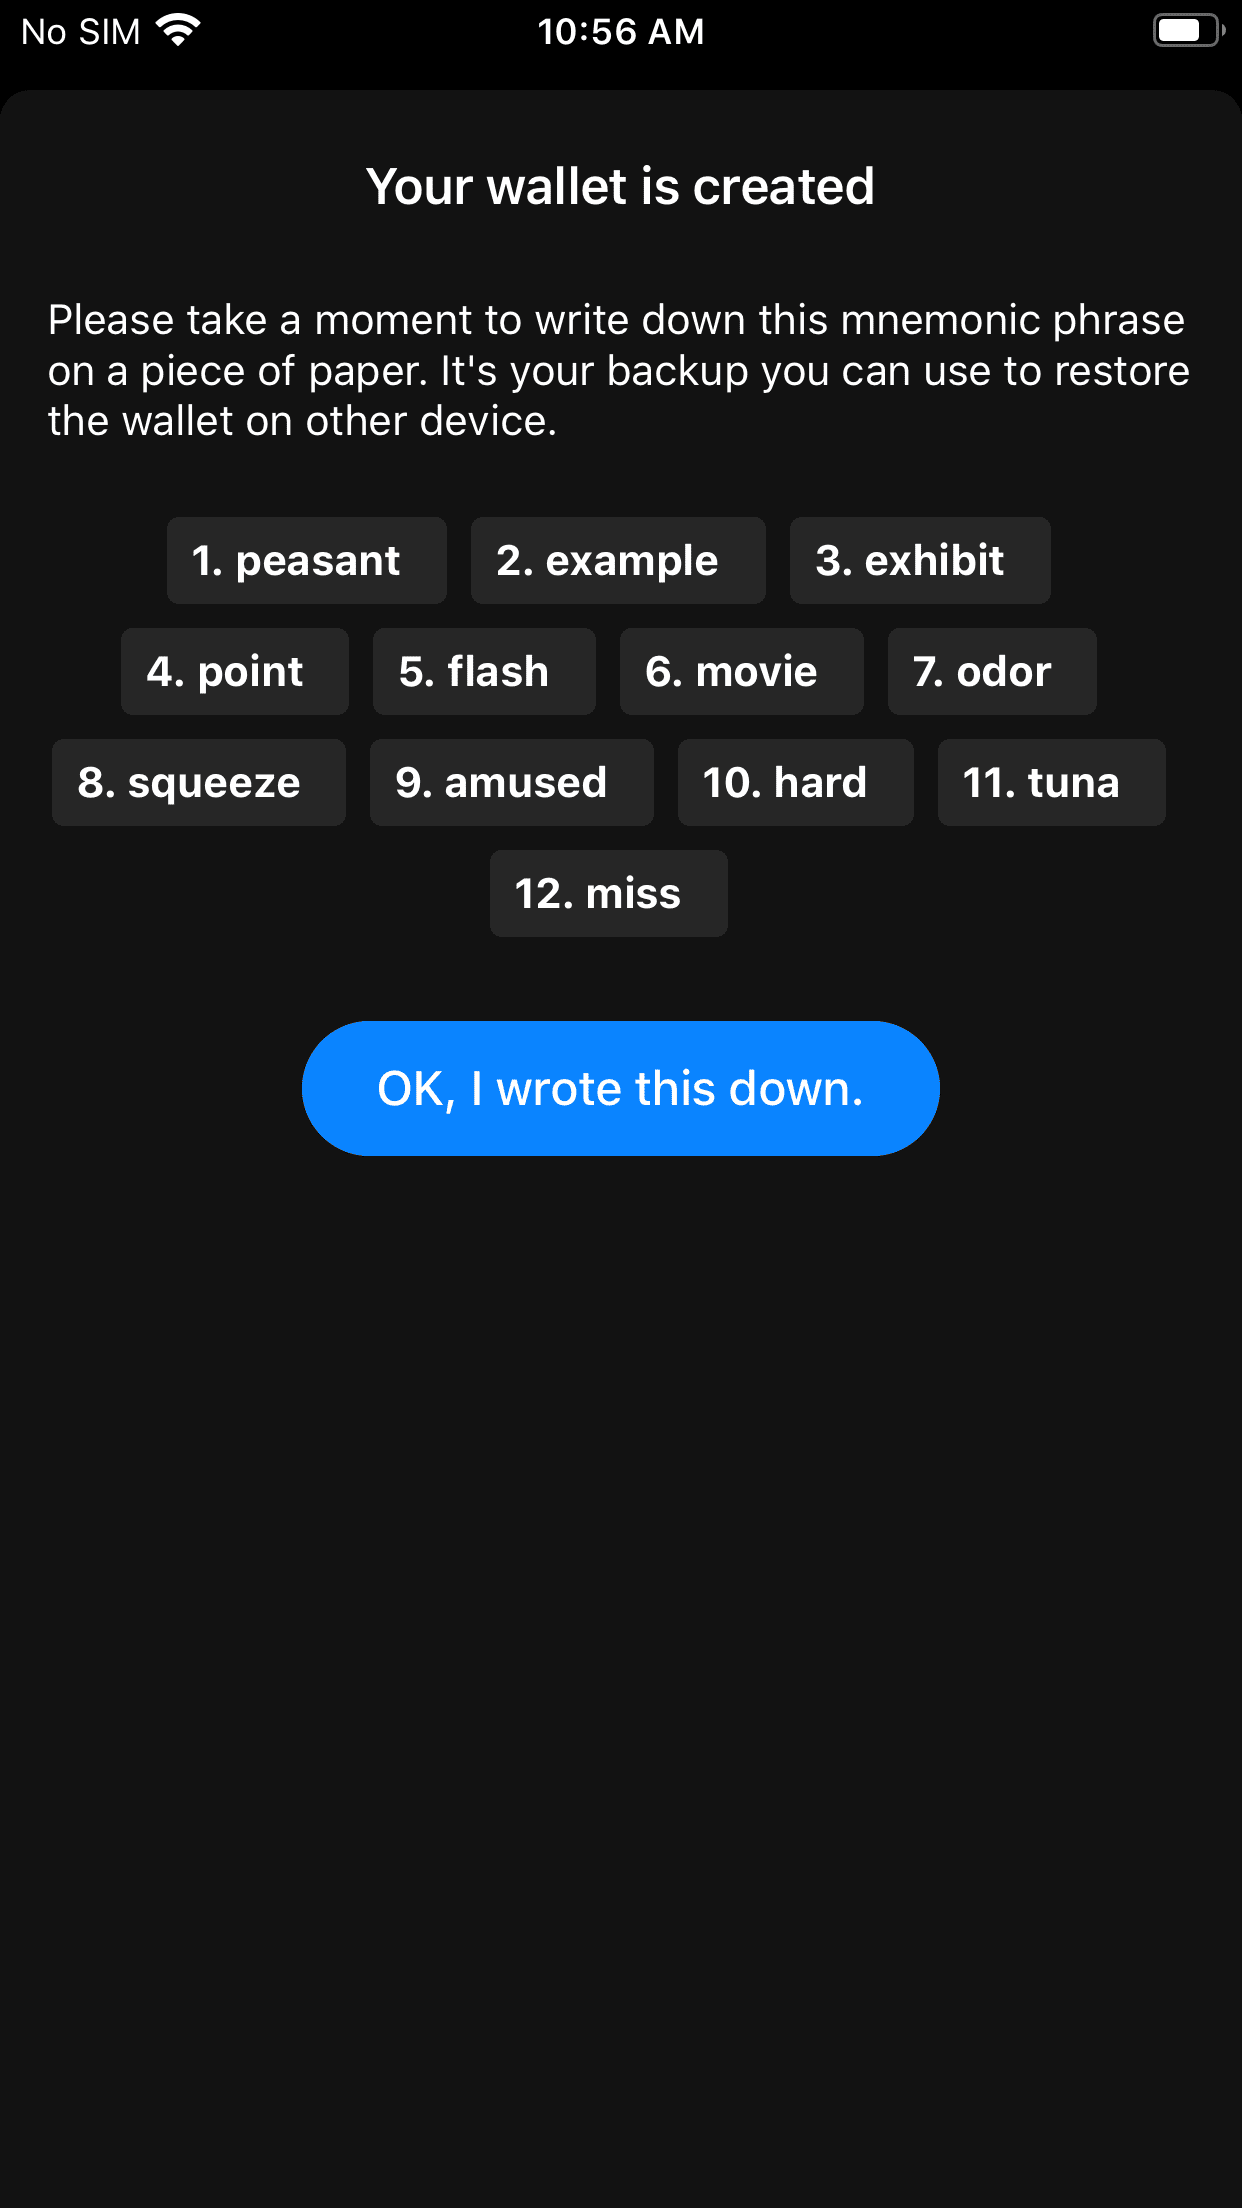
- Write down your words in order on a piece of paper
- Secure this piece of paper as though it were gold or jewelry
- Do not screen-shot these words
- Do not save these words on a computer or on your phone
- Do not say these words out loud
- Never share these words with anyone for any reason
- Your bitcoin is only as secure as your 12 words
- Double check your work then confirm acknowledgement that you have secured your 12 words
- Select “OK, I wrote this down”
Note: If you utilized the advanced option to provide your own entropy, then you should have 24 words to write down. Once you get more serious about Bitcoin, consider securing your seed phrases in metal instead of on paper.
Step Four: Receive Bitcoin
Now that your new Bitcoin wallet is set up and you have secured your 12-word seed phrase, you are ready to start receiving bitcoin.
From the homescreen, simply select the wallet icon for the wallet you just created.
This will bring you into the wallet where you can then select the “Receive” button at the bottom of the screen to display your first Bitcoin address QR code.
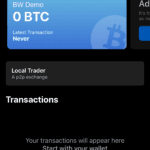
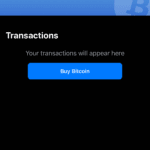
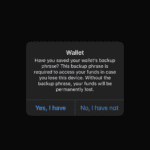
Before displaying your QR code, Blue Wallet will double check with you to be sure that you have written down your seed phrase. Then you will be asked if you would like to receive notifications of incoming payments.
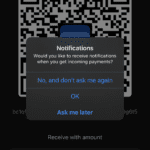
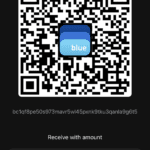
Now you should see your first Bitcoin address QR code. You can physically display this QR code to someone and they can scan it with their wallet to send you bitcoin. Or you can copy/paste the address text and send your receiving address to someone that way. Be aware of the privacy implications when sharing your Bitcoin address; all transactions on the blockchain are available to the public, so it is a good idea to keep this information separate from your identity.
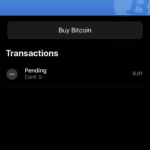
Once a payment transaction from your sender is broadcast to the network, you should see the pending receipt in your wallet within moments. Your transaction will remain in a “pending” state until it has a certain number of confirmations. Each confirmation means that an additional block has been added to the Bitcoin blockchain after the block that contains your transaction. Typically, it is recommended to allow at least three to six block confirmations before trusting that your received funds are secure.
Step Five: Spend Bitcoin
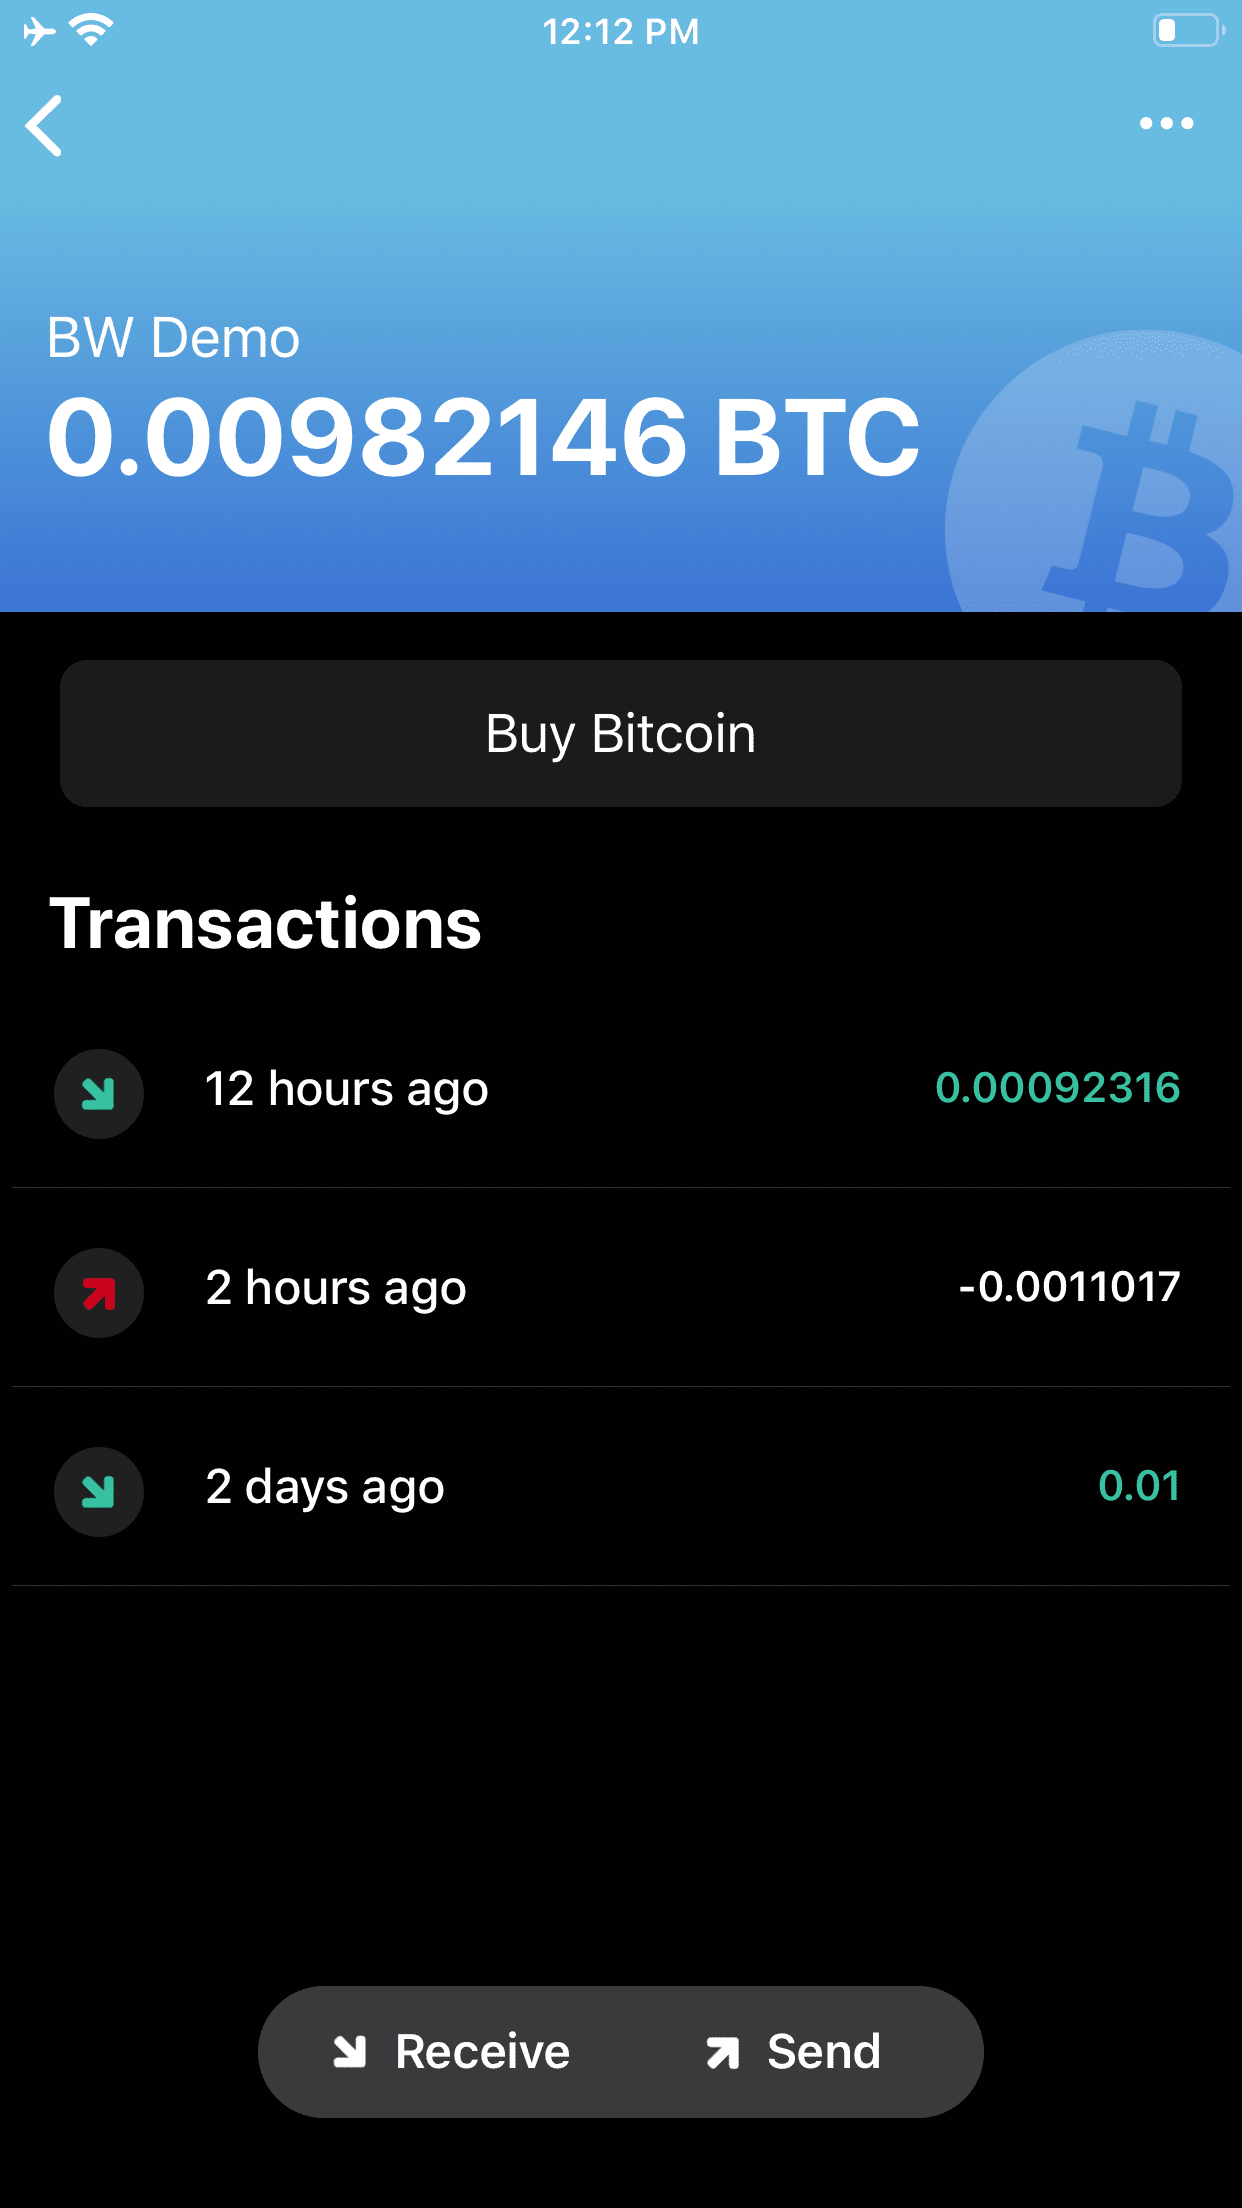
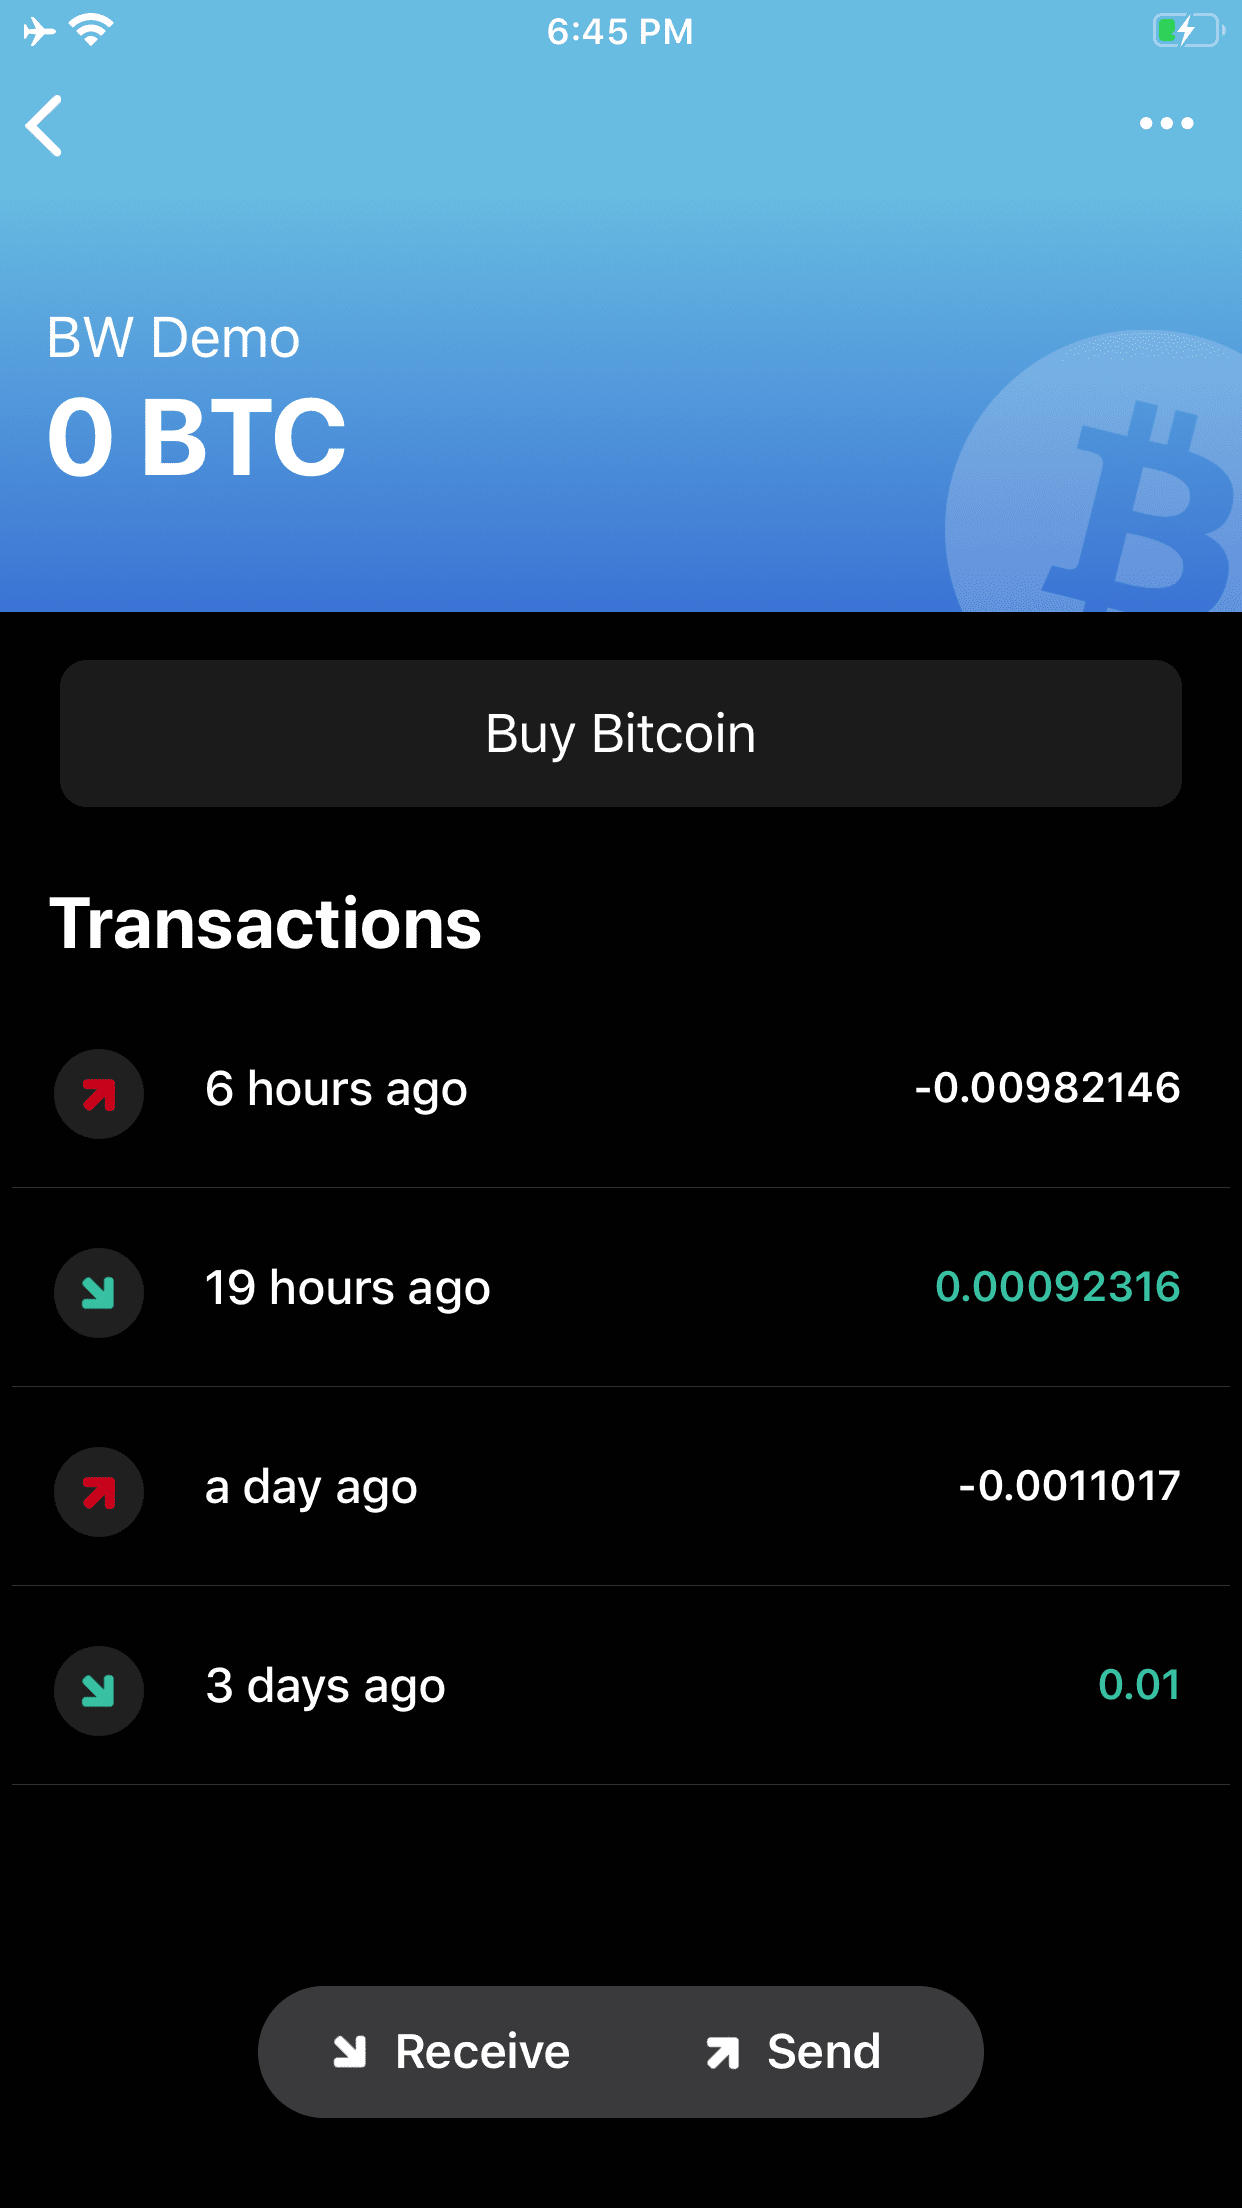
Once your received funds have been confirmed, a green deposit arrow will be displayed next to the transaction. Likewise, spent funds will have a red withdrawal arrow next to them once they have been confirmed.
As you make transactions from your wallet, they will appear in a list when you open your wallet. To spend bitcoin that is available in your wallet, simply select the “Send” button at the bottom of your screen.
You will be prompted for additional details on the next screen.
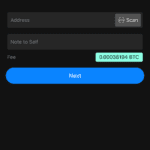
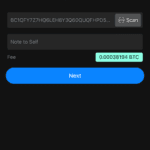
On the next screen, you will be asked for the Bitcoin address that you want to send funds to. You can either paste an address if you have copied one onto your clipboard, or you can select the “Scan” icon in the address dialog box to initialize your iPhone’s camera and physically scan a Bitcoin address QR code from someone that you are sending funds to.
Once scanned, the address text will be displayed in the address dialog box. It is important to check and double check that the address text matches the address you are trying to send funds to.
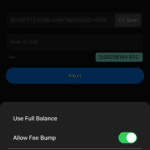
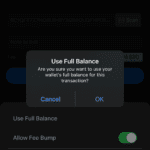
If you want, you can spend your wallet’s full balance by selecting the three-dot menu in the upper-righthand corner. Then select “Use Full Balance.” You will be asked to confirm that you want to spend the entire balance of your wallet.
Blue Wallet also has the option of advanced features like coin control, replace by fee and more from this menu.
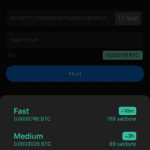
Finally, you will be asked to select a miners’ fee rate. This is based on the data size of your transaction and is used as an incentive to get your transaction included in the blockchain more quickly. You can select from three predetermined speeds or you can choose a custom fee rate.
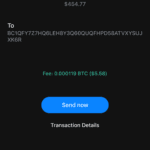
Once ready, confirm the details of your transaction one last time and then select the blue “Send now” button.
Your transaction will be broadcast to the Bitcoin network. Remember, if you are not using your own node, you are trusting someone else’s. Running your own node goes beyond the scope of this article but for some good resources check here, here and here.
Once your transaction has been sent, it will be displayed in your transaction list in your wallet.
You can also watch this video for more on installing and setting up Blue Wallet on iPhone:
Conclusion
Blue Wallet is a sleek and powerful wallet available on iPhone as well as Android. I only covered the iPhone application in this article.
Blue Wallet is packed with advanced features like user-provided entropy via dice rolls and coin toss, coin control, variable miners fees, duress wallet, and Lightning integration. But my favorite feature is the ability to handle partially-signed bitcoin transactions (PSBT). With PSBT, you can import your hardware wallet xpub and use Blue Wallet as a watch-only wallet. This allows you to monitor the balance on your hardware wallet while on the go as well as to generate receiving addresses for your hardware wallet. Watch-only wallets cannot spend from your hardware wallet, so your funds are always secure.
When you want to spend from your hardware wallet, you can enter the watch-only wallet in your Blue Wallet application, construct the spend transaction and then export it as a PSBT. Then you can load this PSBT into your hardware wallet via the MicroSD card option and sign the transaction with your hardware wallet’s private key. Once signed, the transaction can be passed back to your Blue Wallet and broadcast to the network.
You should now have a basic understanding of how to install Blue Wallet on your iPhone, how to secure your wallet’s 12-word seed phrase and how to receive/send bitcoin.
This is a guest post by Econoalchemist. Opinions expressed are entirely their own and do not necessarily reflect those of BTC Inc or Bitcoin Magazine.